Infince Drive helps improve workforce productivity through ready-to-access office tools. Build presentations, spreadsheets, diagrams and documents online. Work together on the same document with multiple collaborators. Save automatically, add comments, and get suggestions in real-time. Communicate efficiently and work together better to reduce errors and complete tasks faster. Keep your data secure in Infince’s file storage. Enable controlled access and monitor how teams share your data. You can securely share files with your internal and external collaborators in your organization.
Accessing Files in Infince Drive
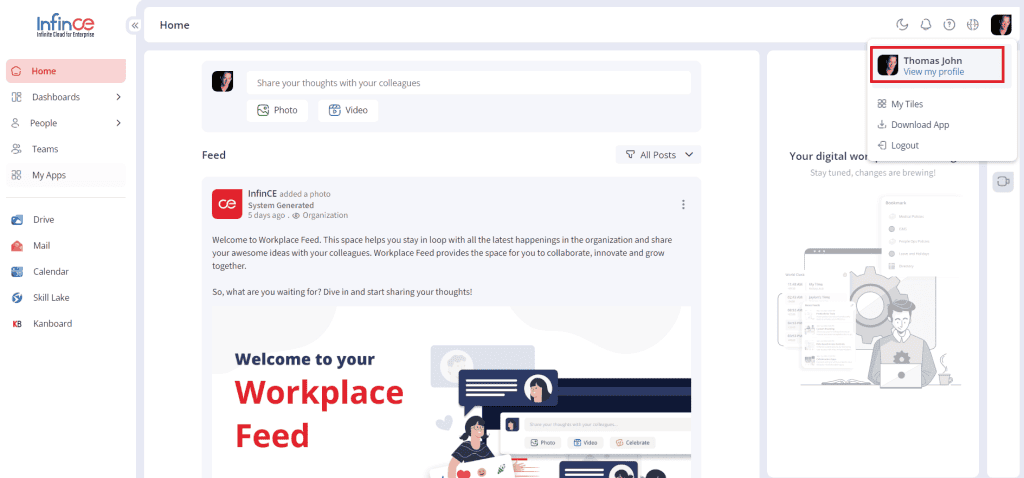
Click on the Drive icon from your Workplace.
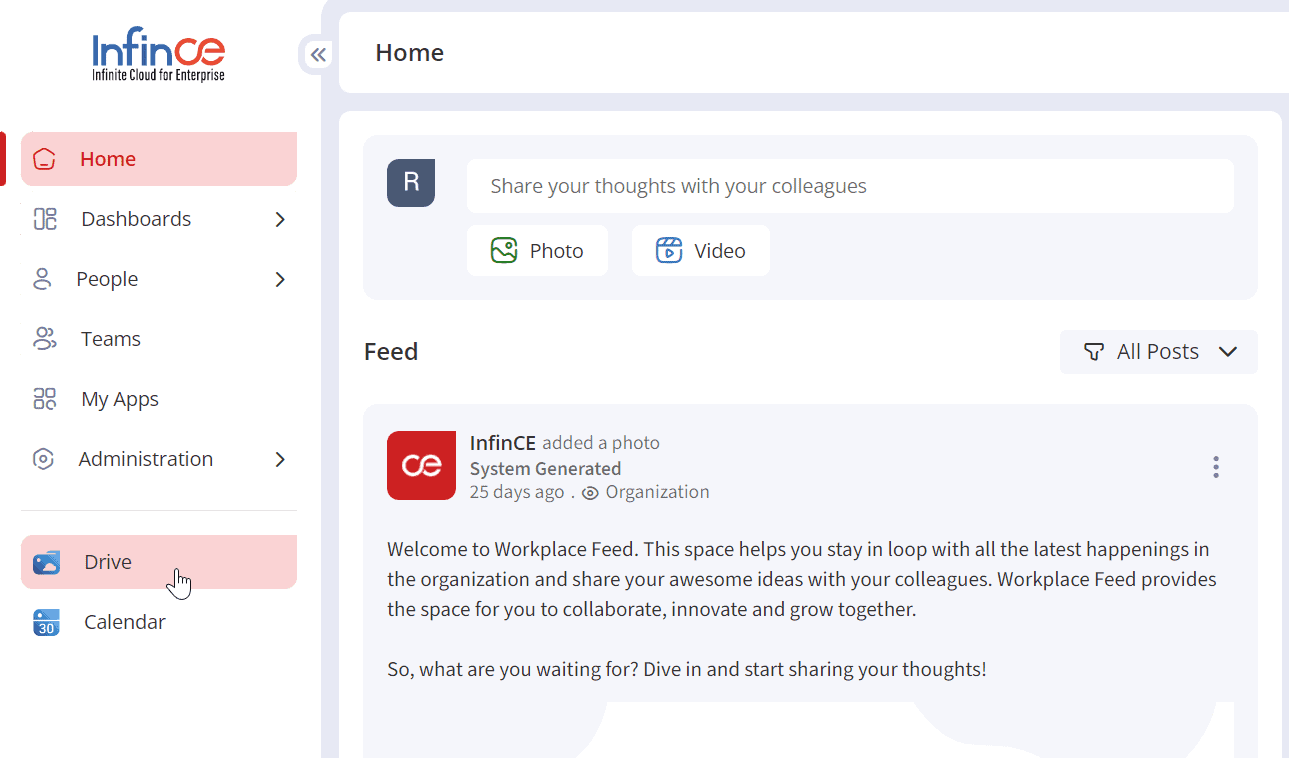
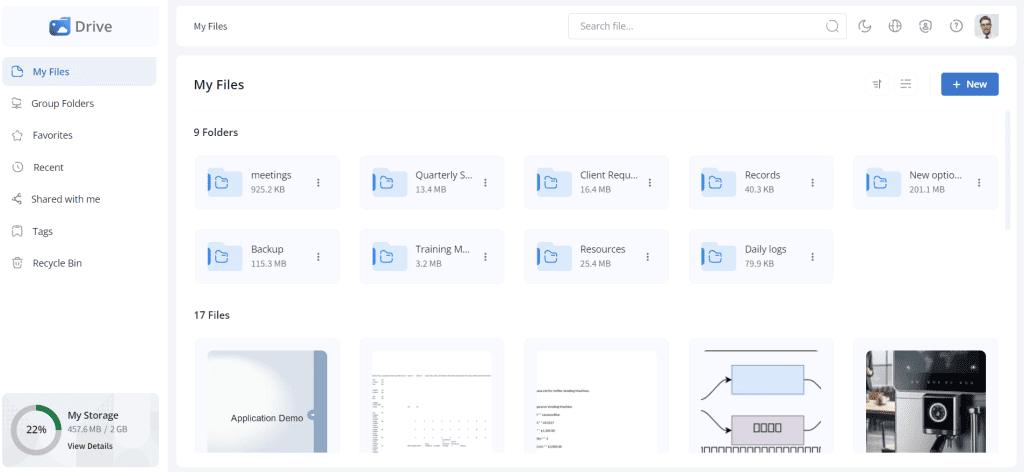
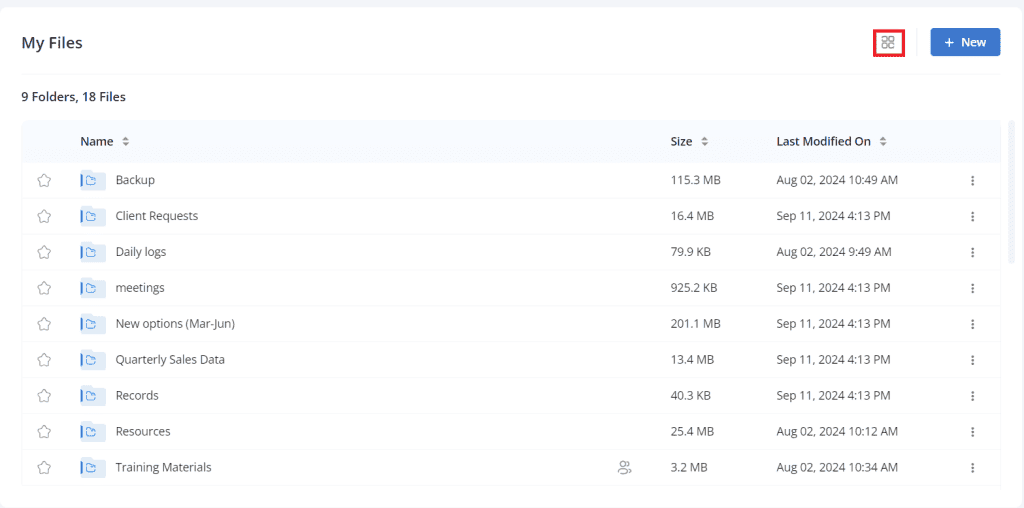
The Infince Drive application will open up in a new tab, where you can view all the files and folders you created.
Adding Files and Folders
Infince Drive helps you create text documents, spreadsheets, presentations, and diagrams. You can create new files or upload files and folders from your system.
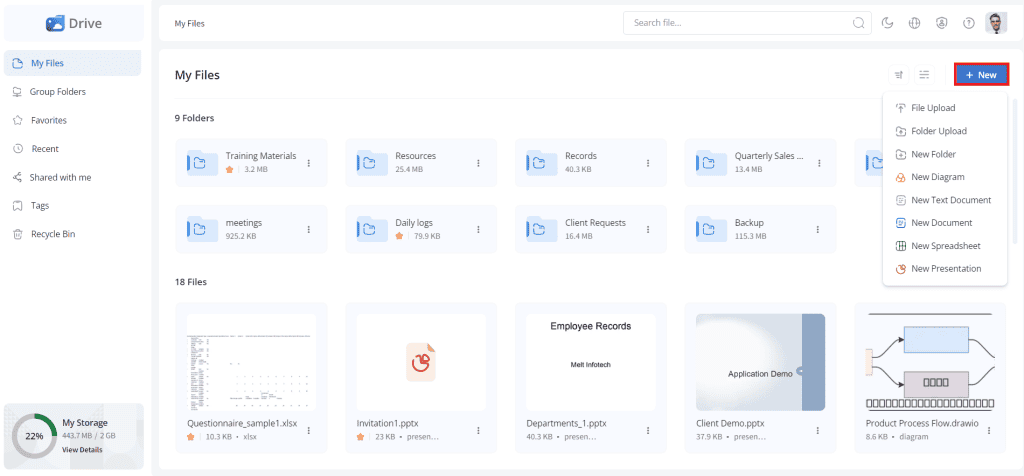
- To create a file, click the + New button or right-click on a space in My Files and select the type of document you want to create. The files created will be listed under the My Files section.

- To create a folder, click on the + New > New Folder
- Enter the folder name and click the Create button.
- The folder created will be listed in My Files.
- The Folders in the My Files section will be displayed on the top and Files below.
Uploading files and folders
You can upload the files and folders from your computer to Infince Drive.
- To upload a file/folder, click the + New > File Upload/Folder Upload.
- Browse and click on the file/folder you want to upload.
Sharing Files and Folders
Files and folders can be shared with internal users and external collaborators.

To share a file or folder, right-click or click on the three dots and select the Share option.
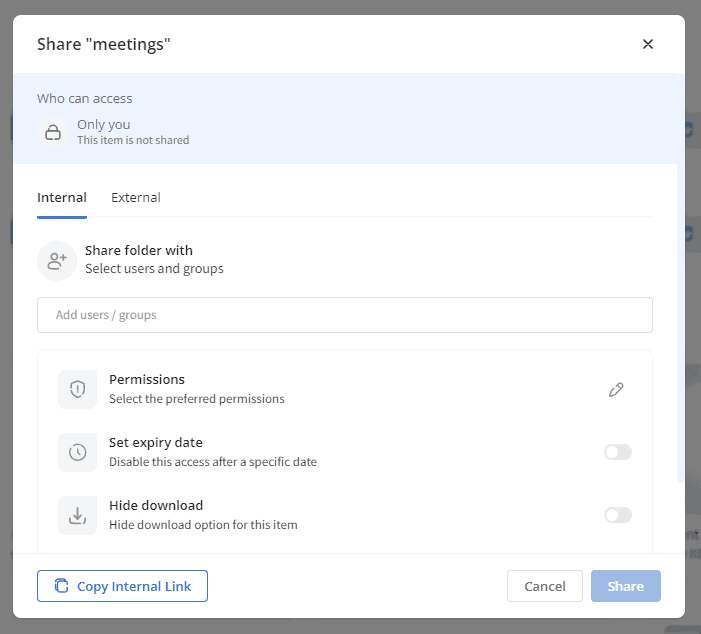
Sharing Files/Folders with Internal users
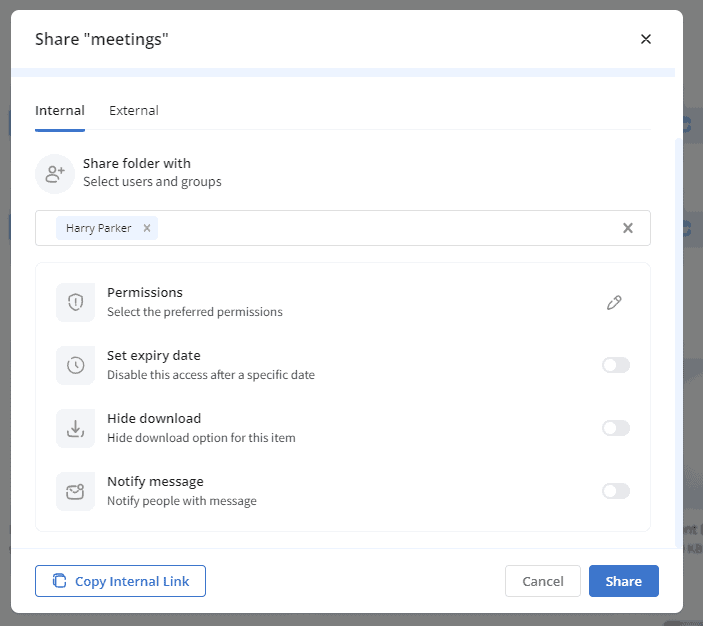
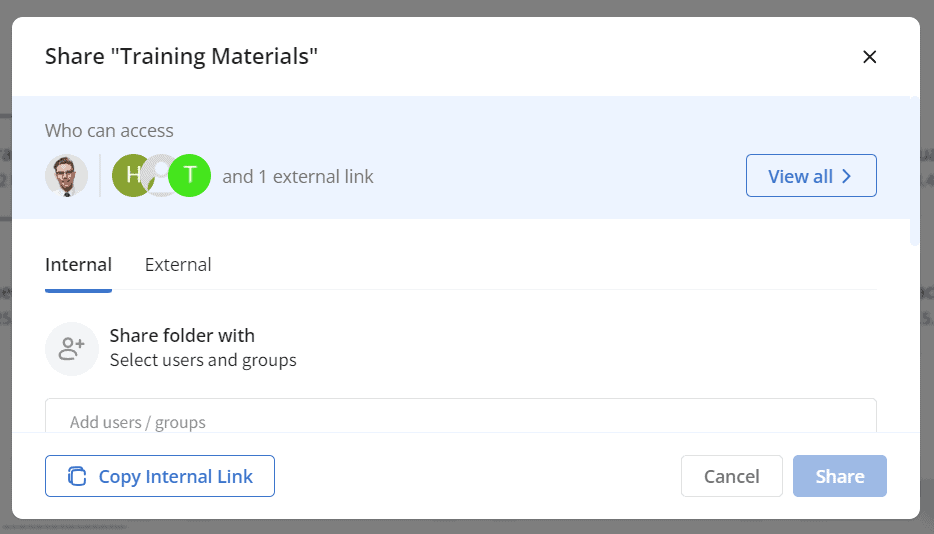
To share a file with a user in your organization, click the Internal tab in the Share pop-up. Then, select the users or groups with whom you want to share the file/folder.
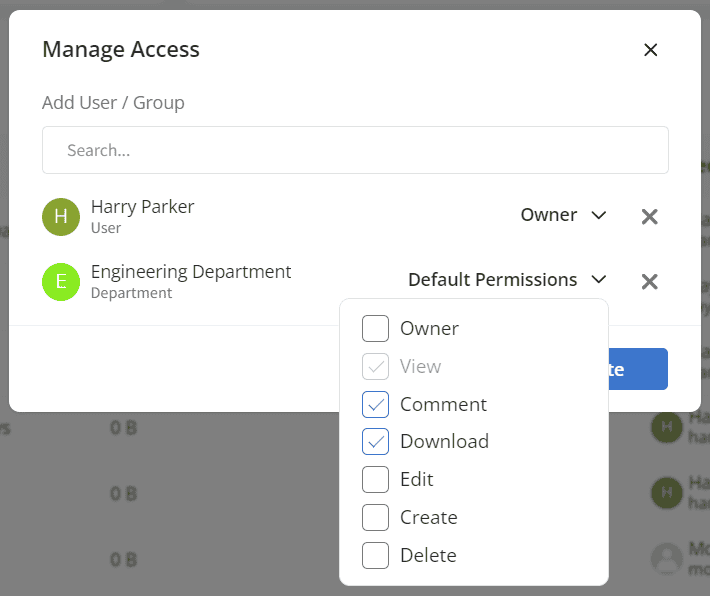
- To manage the access permissions:
- Click on the Edit icon and tick the permissions you want to provide for the selected users or groups.
- The permissions available while sharing a folder are view, comment, edit, create, reshare, and delete.
- To provide all the available permissions for your file/folder, toggle the Select all option.
Note:
- View and comment permissions will be selected by default.
- The Create permission allows the recipient to add files in a folder. Create and delete permissions are available only while sharing folders.
- Set expiry date – Toggle this option if you want to provide file/folder sharing permissions only until a specified date.
- Hide download – Toggle this option if you do not want to offer users a file/folder download option.
- Notify message – To share a custom message with the user via notification email, toggle this option and enter the message in the text box provided.
- Click on the Copy Internal Link button to copy the folder link and share it with the users in your organization.
- You may choose the required options and click the Share button to share this file/folder with the selected users/groups. The users will get a notification email regarding the share.
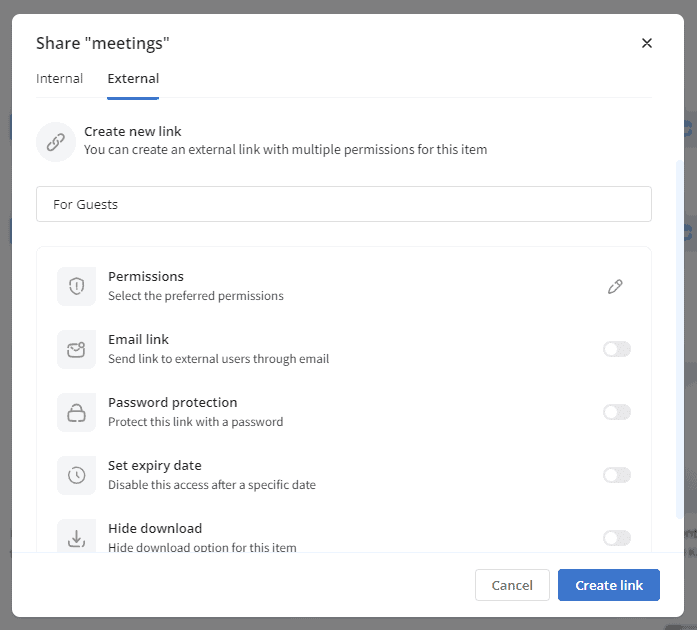
Sharing Files/Folders with external users
Your folders and files can be shared with users outside the organization. To create an external share, click on the External tab in the Share popup. Enter the link label and click the Create Link button to create a link to share with external users.
- To manage the permissions
- Click on the Edit icon and tick the permissions you want to provide for the external users.
- The permissions available while sharing a folder are view and upload.
- To provide all the available permissions for your file/folder, toggle the Select all option.
Note: The upload permission allows you to add files to the shared folder. This option is available only while sharing folders.
- Email link
- Toggle the Email link option to allow sharing the file or folder link directly to external users’ email addresses.
- Enter the email id and notification message to be sent to the user.
- Password protection: Select this option and set a password for the file/folder to restrict access to the users.
- Set expiry date: Select this option, if you want to provide the file/folder share permissions only until a specified date.
- Hide download: If you do not want to provide a file/folder download option to users, enable this option.
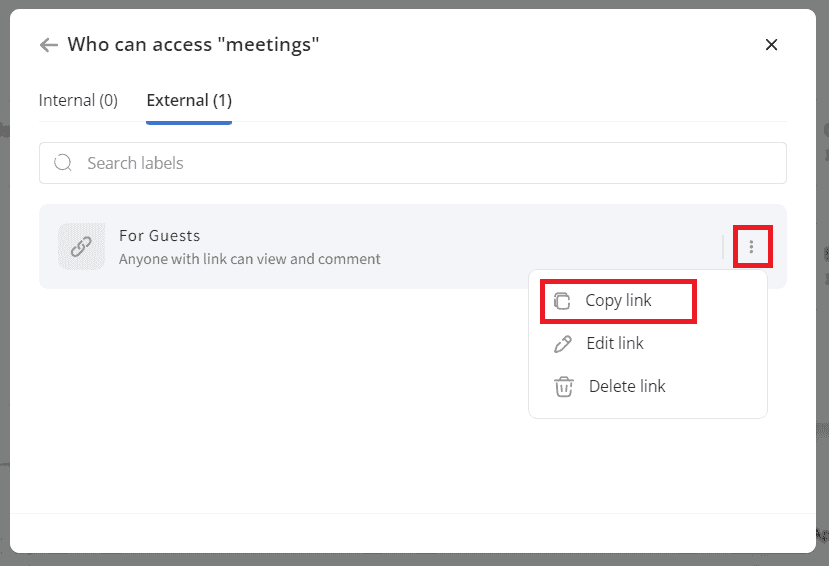
Click the Create Link button, and the external link will be created and copied to the clipboard by default. To access this share link in the future, click on the three dots icon against this link label and click ‘Copy Link’. To edit the link, click the ‘Edit link’ and make the necessary changes. If you want to delete the link, click the ‘Delete link’ option.
Viewing Users and Groups with Access
To view the users and groups who have access to a file or folder:
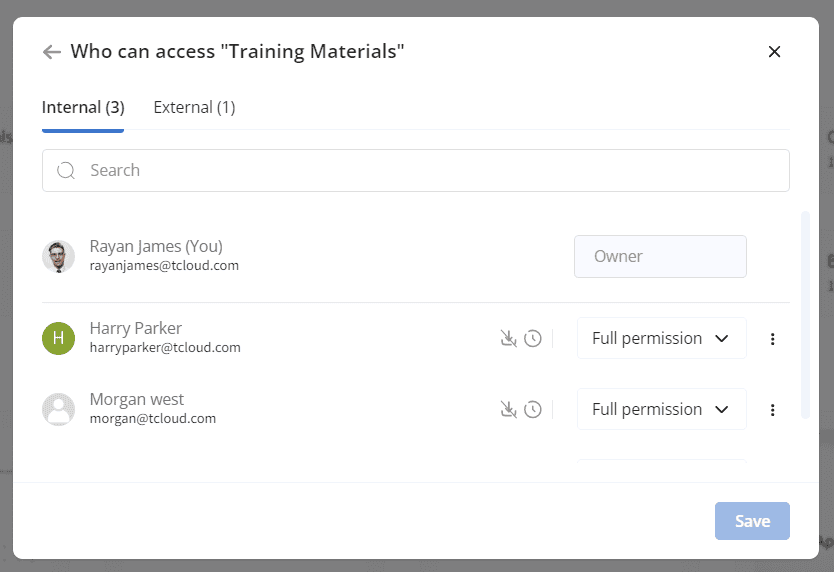
- Open the Share pop-up. Click the “View all” button in the Who Can Access section.
- The existing share details, including users and external links with access, will be displayed.
File/Folder Info
Right-click on the file/folder or click on the three dots and select the Info option to view the file/folder details. You can add tags for easy reference, share with internal/external users, view the details, add comments, and track file/folder activity.
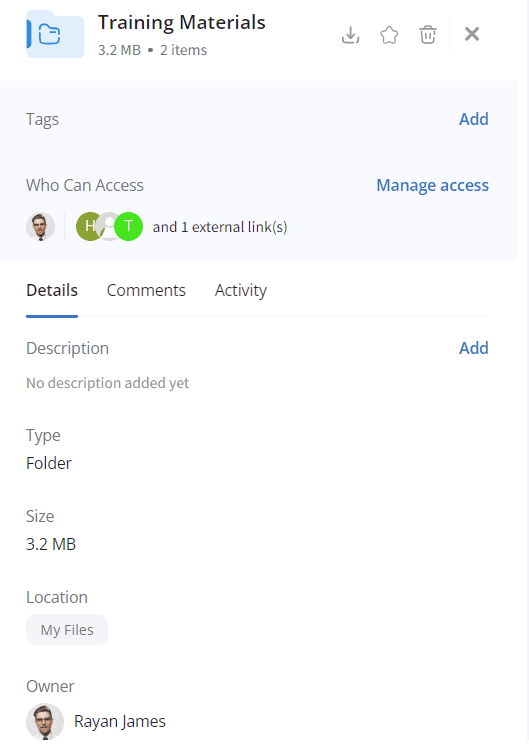
- You may download, mark the file/folder as favorites, or delete it by clicking the respective icons on the top of the Info section.
- To add a tag to the file/folder, click the Add button in the Tag section. Users can select available tags from the drop-down or add a new tag if needed.
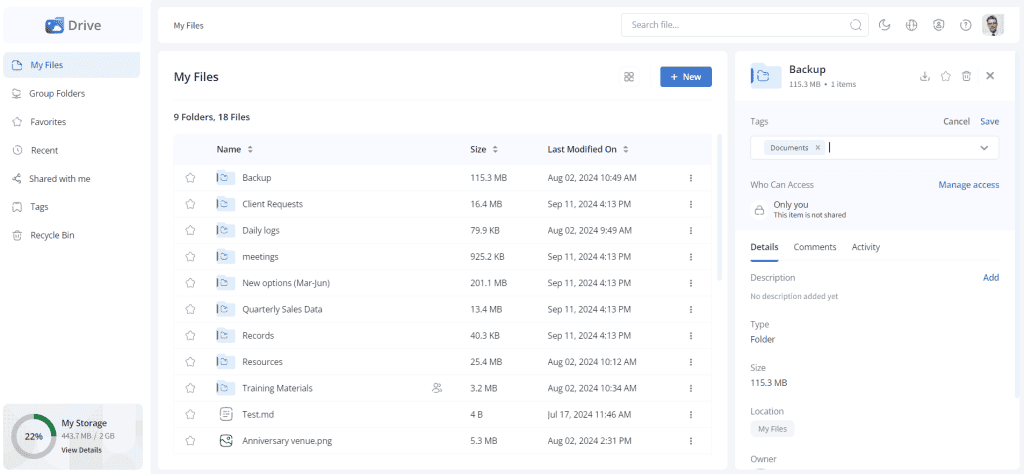
- Click on Manage access to share the file with internal/external users.
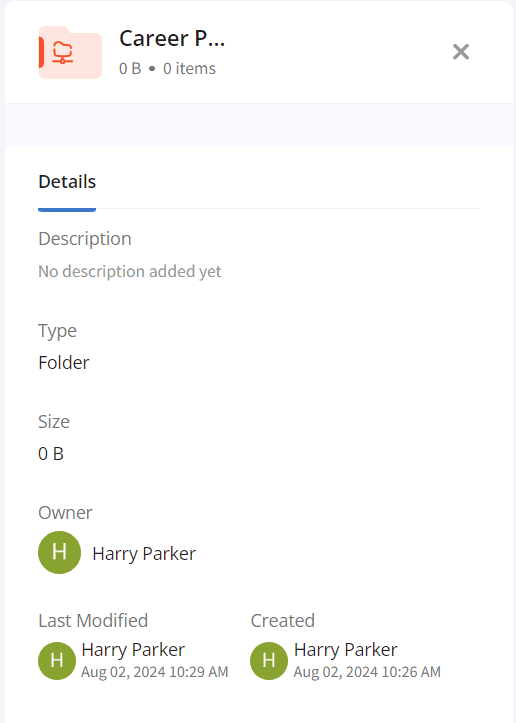
- The Details tab helps you to create a description for the file/folder, and view the type, size, location, owner and created user information.
- From the Comments tab, you may add comments for the file/folder which you want to convey to the shared users.
- The Activity tab tracks all the actions performed in this file/folder.
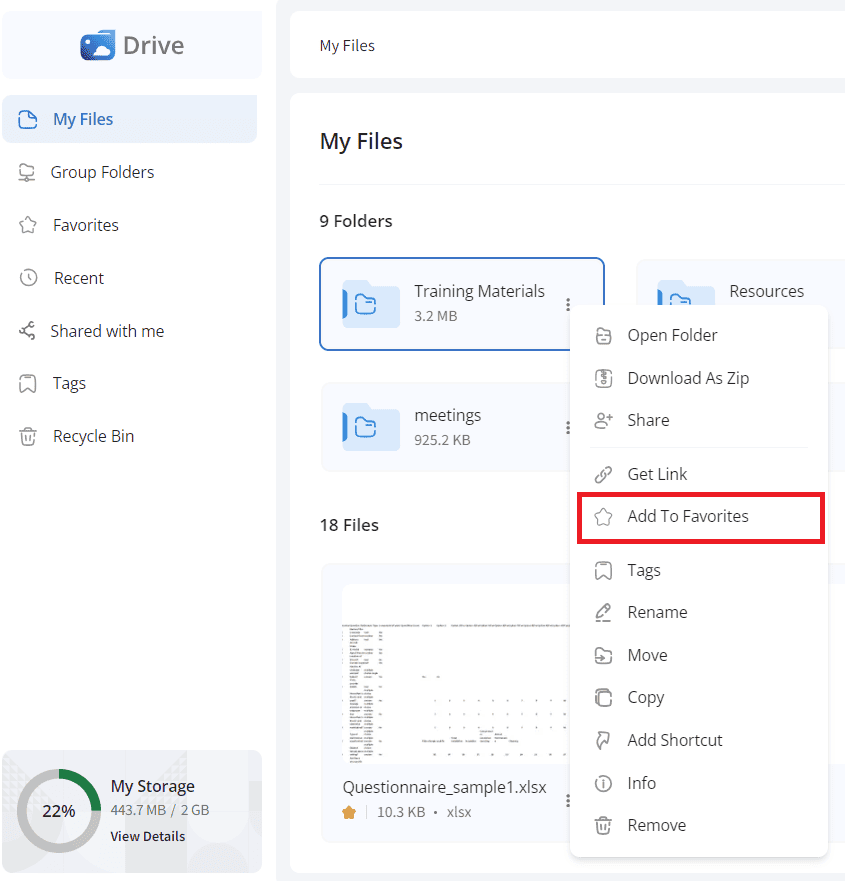
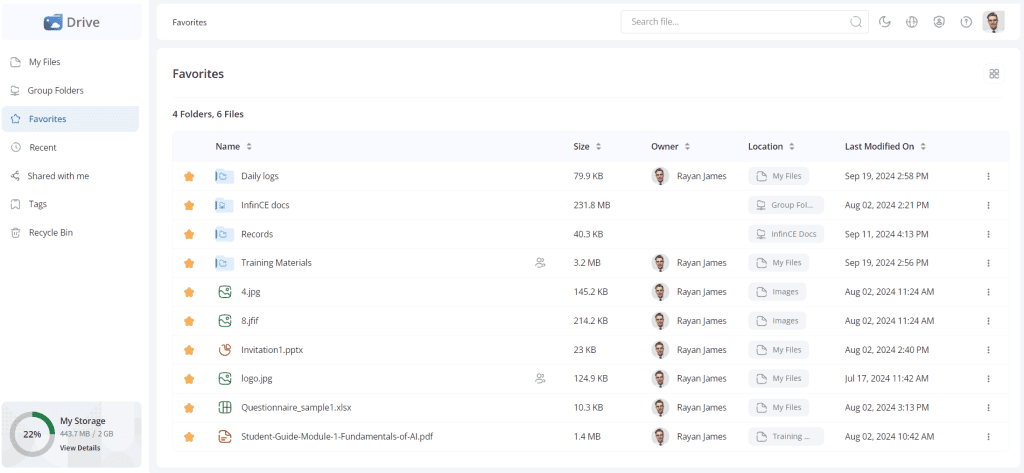
Mark File/Folder as Favorites
The “Favorites” feature allows the user to mark any file or folder as a favorite so that it can be quickly accessed later. Right-click on the file or folder, or click on the three dots and select the Add to Favorites option to add the file or folder as a favorite.
The files marked as favorites can be viewed from the Favorites menu.

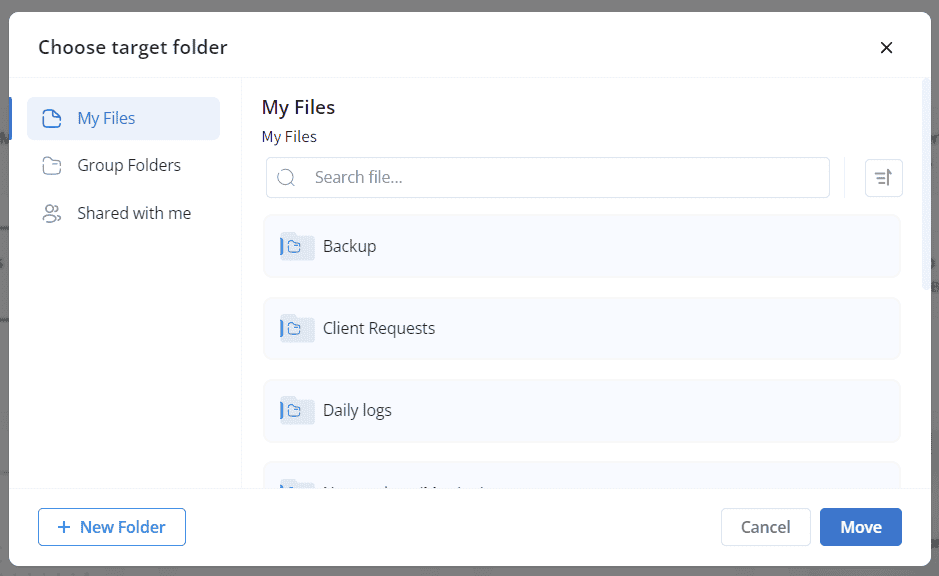
Moving the file/folder
Right-click on the file/folder or click on the three dots and select the Move option to move it to the desired folder in the My Files section, to a group folder, or to any other folder to which you have access. You can also create a new folder and move your file/folder there.
Download As Zip
Right-click or click on the file/folder and click the Download as Zip option to download it as a zip file.
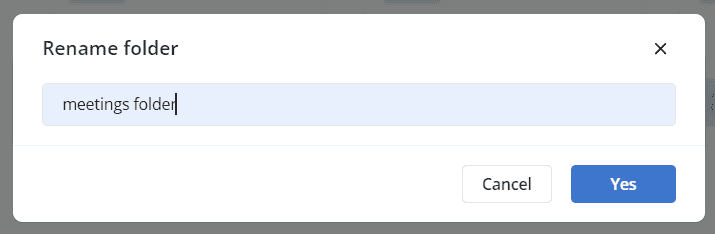
Renaming a file/folder
Right-click or click on the three dots on the file/folder and select the Rename option to rename it. In the Rename pop-up, provide the new name for the file/folder.
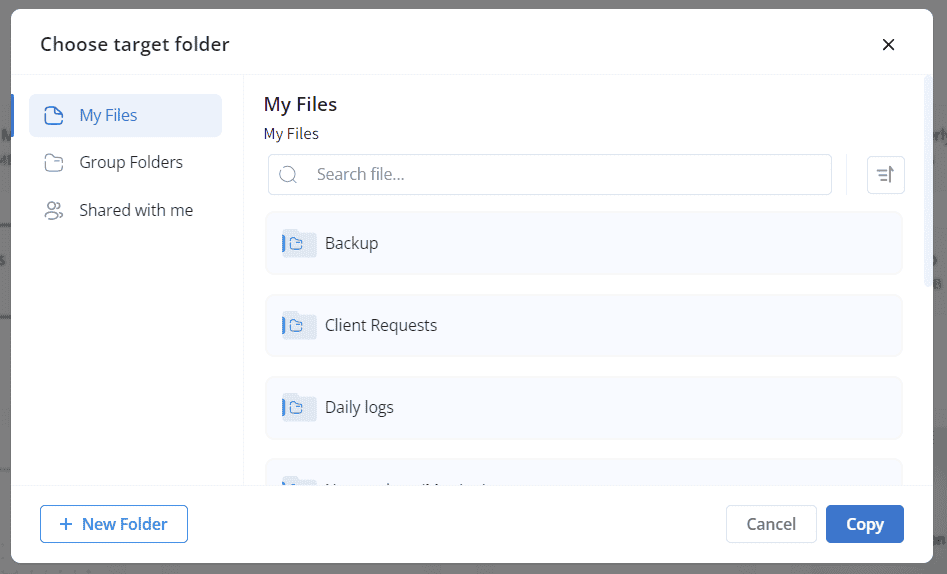
Copying a file/folder
Right-click or click on the three dots on the file/folder and select the Copy option to copy the folder to a group folder or other folders you have access to. You may also copy your file/folder to a new folder.
Other options
Right-click on the file/folder or click on the three dots and
- Click on the Open Folder option to open the folder.
- Click on the Get Link option to copy the folder link, so you may share it via Chat.
- Click the Tags option to create new tags and map the file/folder.
- Click the Add Shortcut option to create a shortcut for the file/folder in the desired location.
- Click on the Remove option to delete this file or folder. The deleted file or folder will be moved to the Recycle Bin.
Managing Versions
Infince Drive helps you to version control the files.
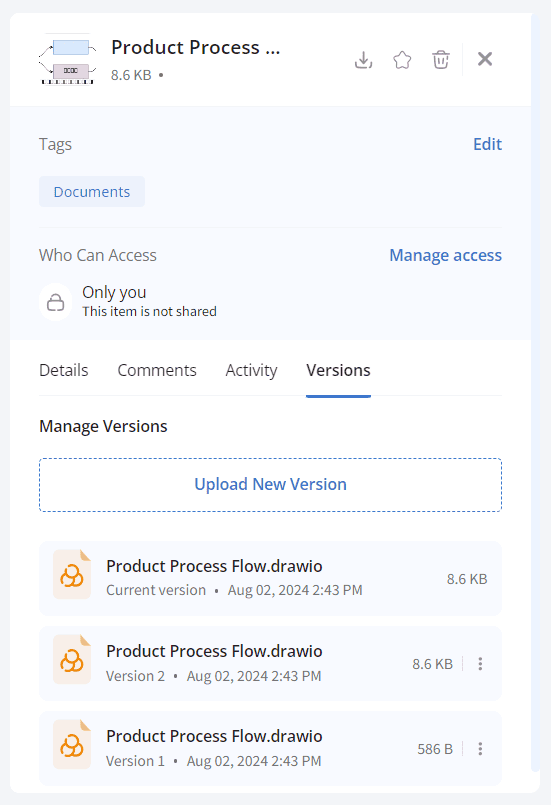
Click on the Upload New Version button to upload the new version of the document. You may view the previous versions of the document.
Restoring the deleted files
Infince Drive allows you to restore deleted files within 30 days of deletion. To do so, click the Recycle Bin, right-click on the required file, and select the Restore option.
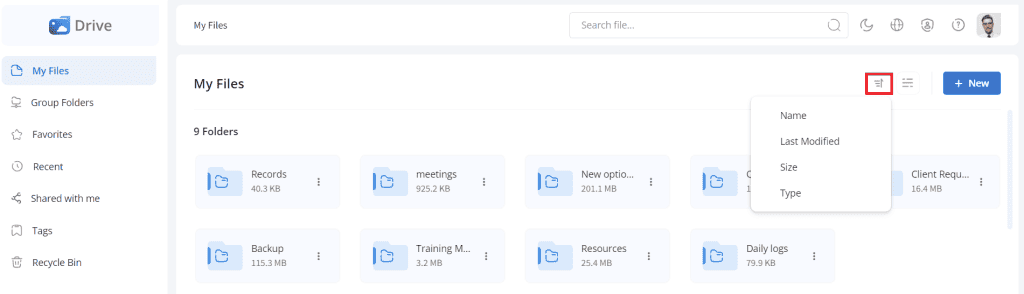
View and sort files and folders
Click on the Sort icon to sort the files/folders using the file name, last modified date, size, or type in ascending order.
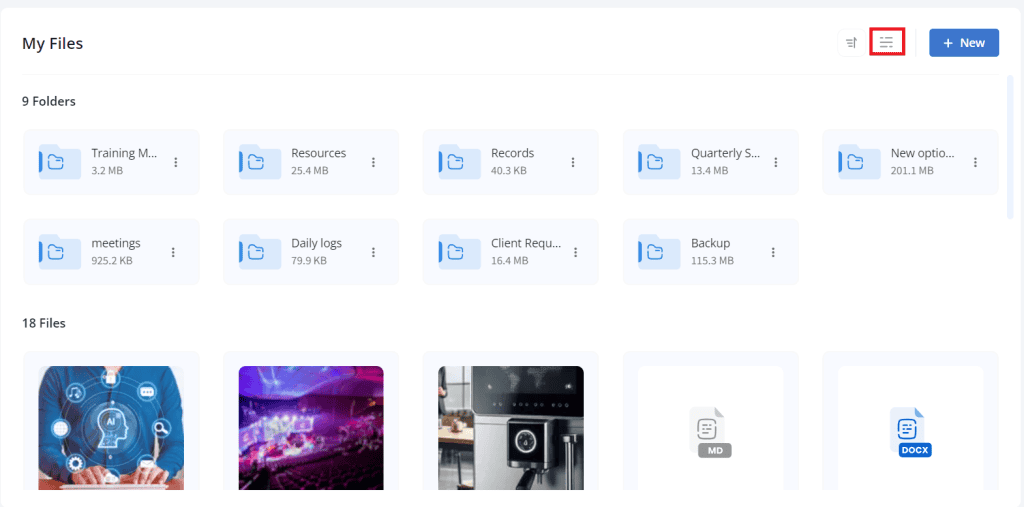
Click the List/Grid icon to toggle between the list and grid view of the files and folders.
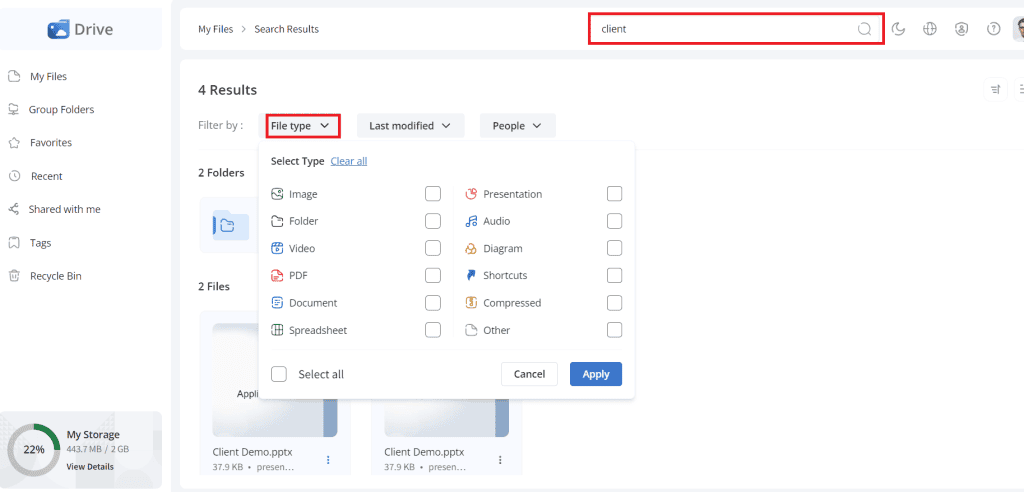
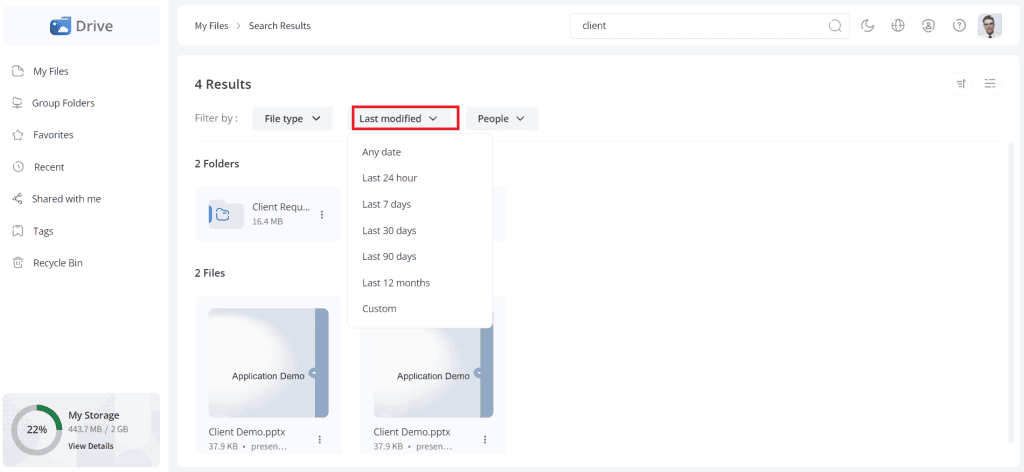
Search
Use the Search bar at the top to search for files/folders. You can sort the Search results based on the file type and last modified.
Drive Personalization
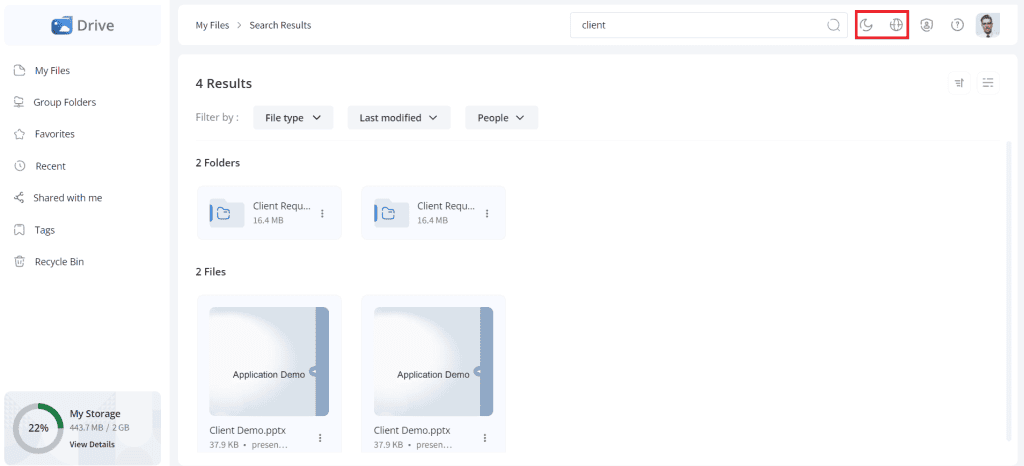
- Click on the Switch to dark mode to switch the theme from light to dark mode.
- Click on the Switch Language option to switch the languages.
Group Folders
The Group Folders menu displays all the group folders you can access in Infince Drive. Double-click on the Folder to view all the files in that group folder.
To create a group folder:
- Click on the + Create button.
- Click the three dots icon/right-click to view the group folder actions.
- Here is the article covering the group folder features in detail.
Favorites
The files marked as favorites can be viewed from the Favorites menu.
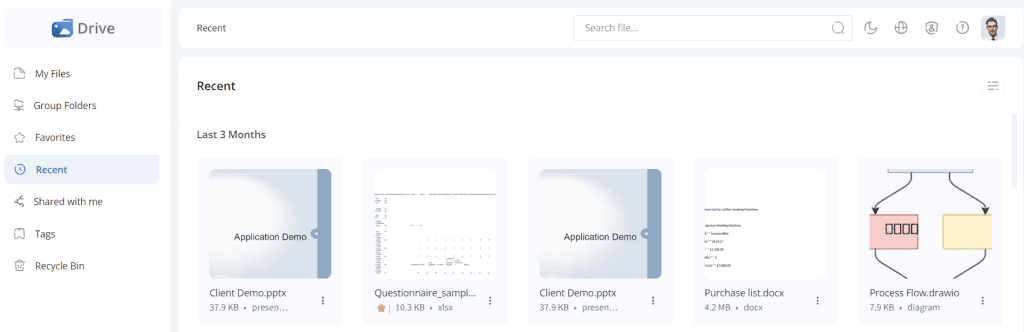
Recent Files
This menu displays all the recently accessed files/folders.
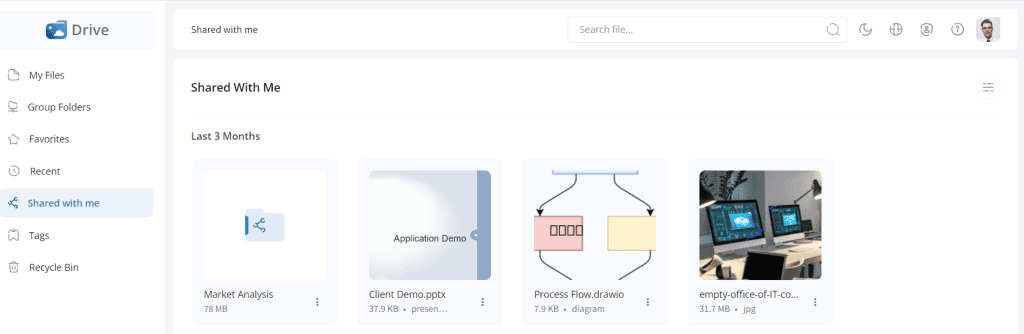
Shared with me
The files/folders shared with you will be displayed in this menu.
Tags
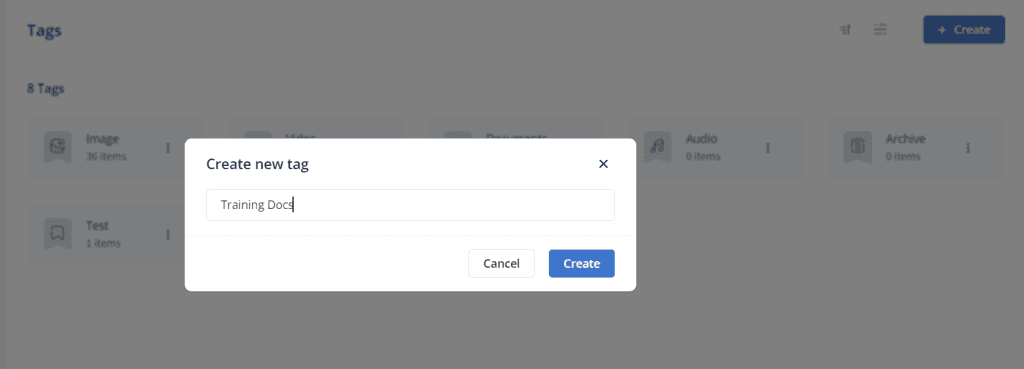
This menu will display all the system tags and the tags created by you in Infince Drive. Click on a tag to view all the files marked with this tag. To create a new tag, click on the + Create button.
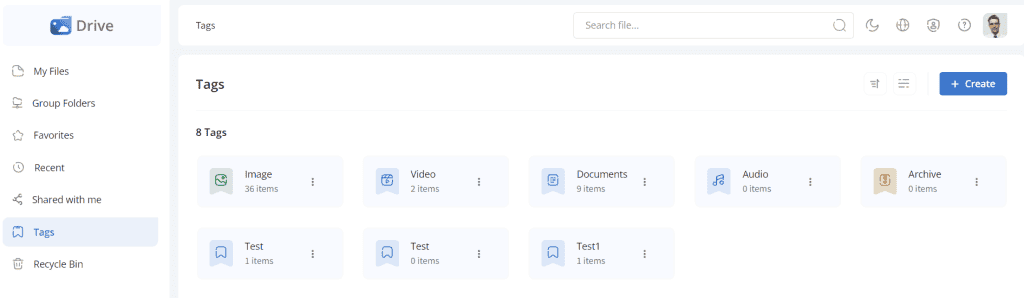
Click on the + Create button to create a new tag. A pop-up titled “Create new tag” appears, where you can enter the new tag name.
Recycle Bin
The deleted files can be managed from the Recycle bin. These files/folders are moved to the Recycle Bin, where they will be available for 30 days.
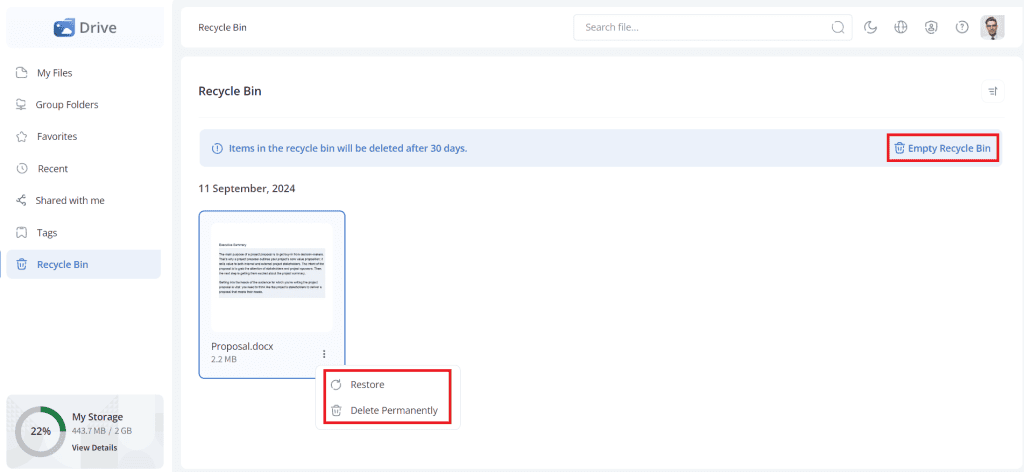
- To restore the files/folders, select the required file/folder and click the Restore button.
- To delete the files/folders permanently, click the Delete Permanently button.
- Click the Empty Recycle Bin button to delete all the files/folders from the recycle bin.
Buy more storage space
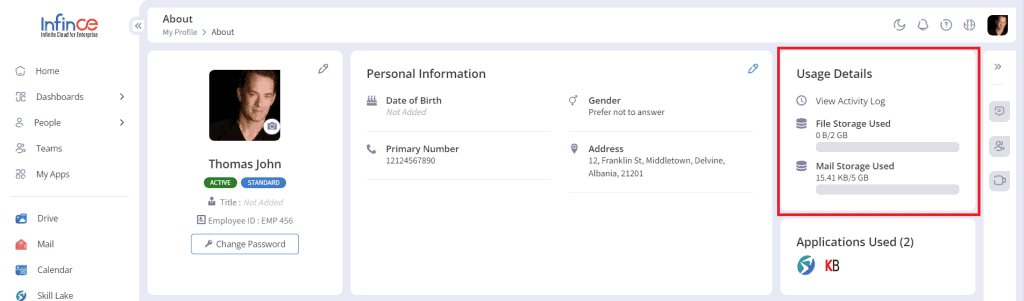
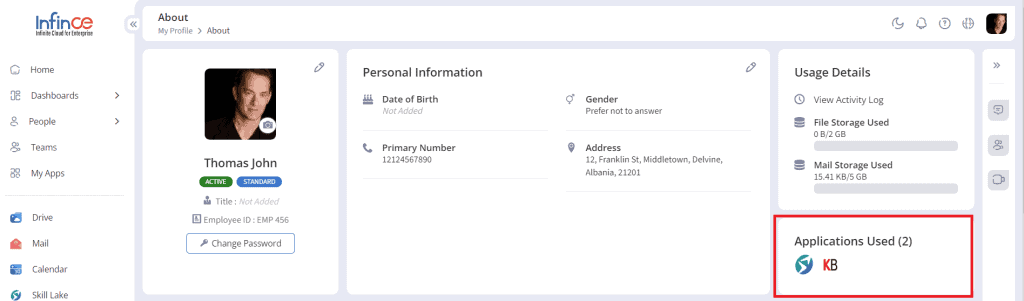
My Storage section on the bottom of the left menu displays the storage utilized and the total available storage.
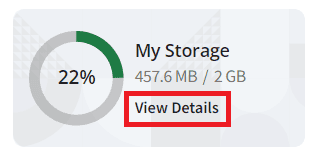
Click on the View Details button to view your Infince Drive storage utilization.
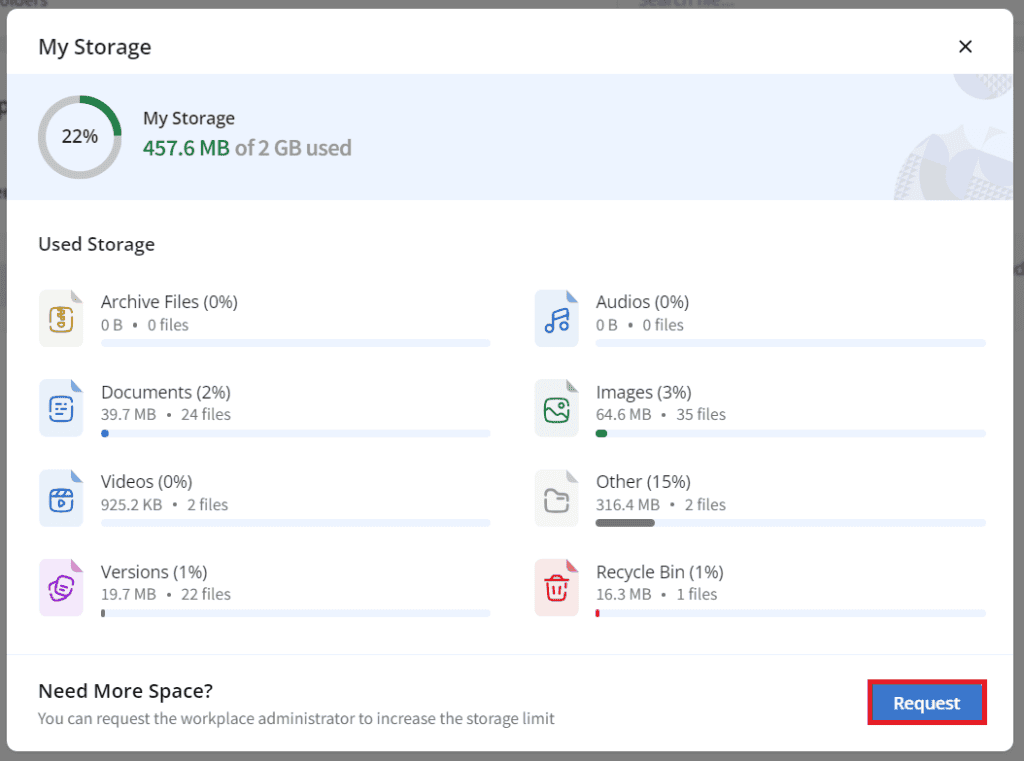
To request more storage, click the Request button and enter your required storage space in the text box.
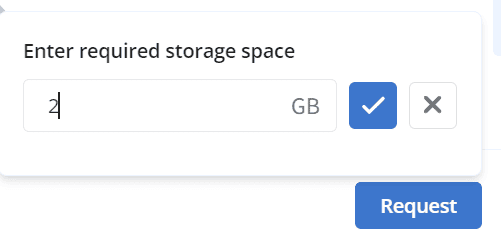
Once the administrator approves the requested storage, it will be added to your Infince Drive. To learn more, click here.
Drive Administration
Users with Drive Administrative Permissions can access the Drive Administration page to manage all group folders and access the audit log.
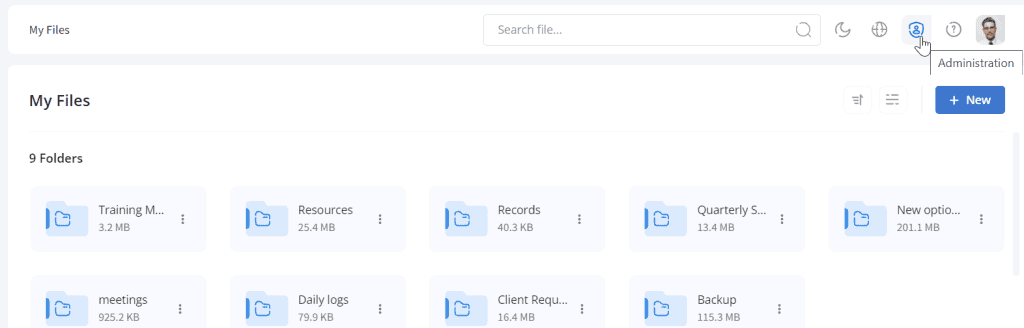
Click on the Administration icon at the top right corner to view the group folders and audit log of the Infince Drive.
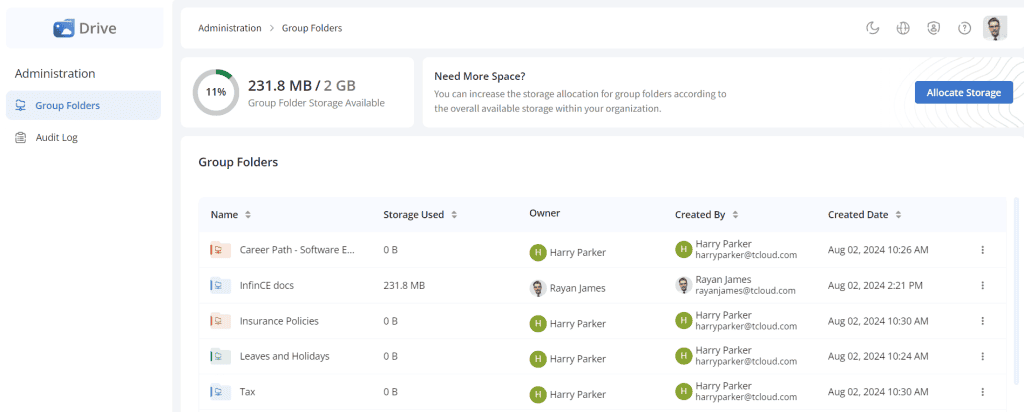
Group Folders
In the Group Folders section, the Administrators can manage the group folders in Infince Drive. It is possible to view the name, storage used, owner, user who created it and created date of the group folder.
Click on the three dots and the Info icon to view the description, type, size, owner, last modified date and user who created the group folder.

Click on the three dots and on the Edit Access icon to manage the permissions for the users of the group folder.
To remove the group folder, click on the three dots and the Remove icon.
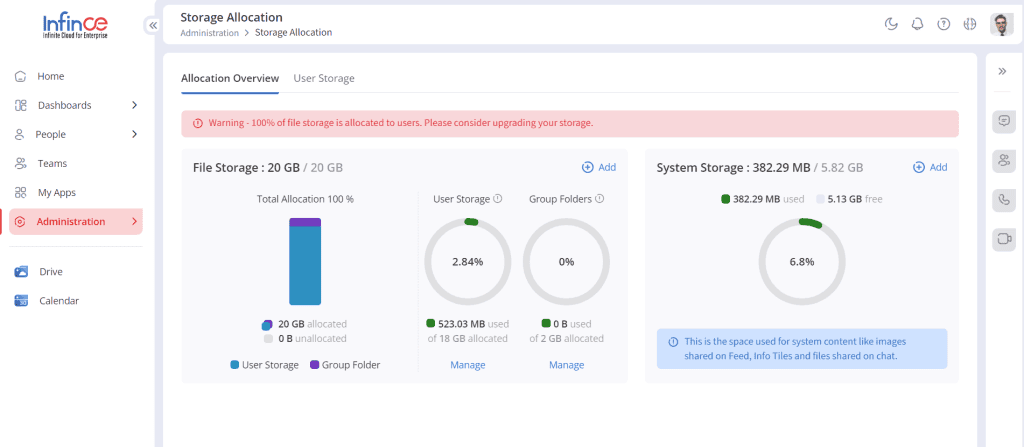
Storage Allocation
Click on the Allocate Storage button. You will be navigated to Infince Workplace > Administration > Storage Allocation, where you can manage the file storage. To know more about storage allocation, refer to this article.
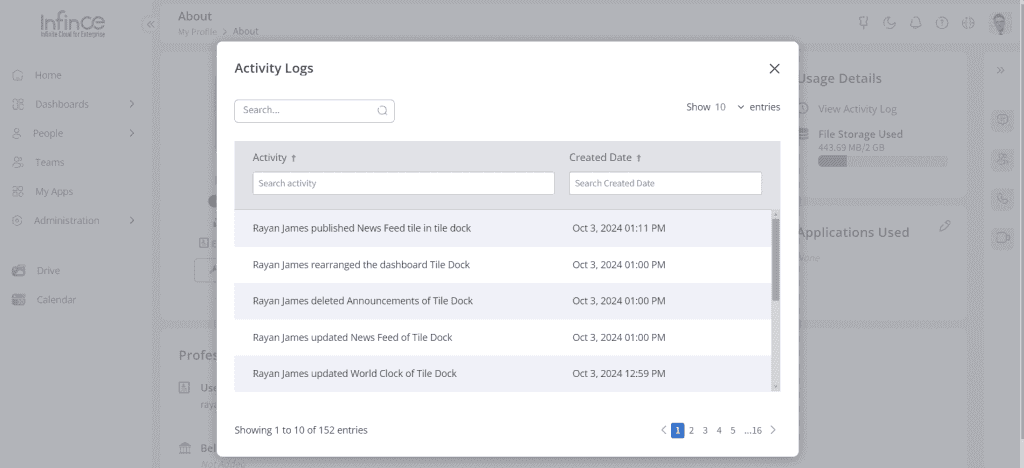
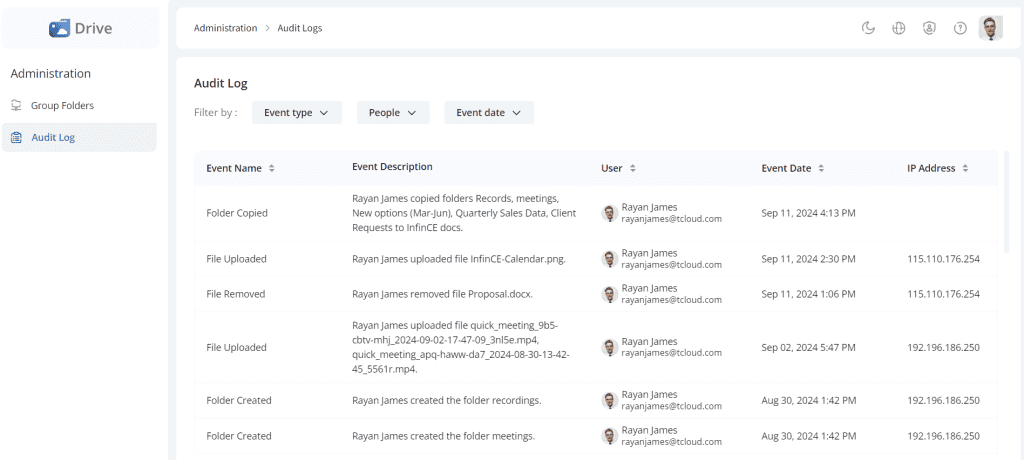
Audit Log
The Audit Log helps track and review the activities within the infince drive. It includes a detailed record of the user’s time-stamped actions and other events. This will help to enhance the security and ensure compliance.
This tab displays the event name, description, event created user, event date and event IP address.
Compatible Browsers
Infince Drive can be used in all browsers, including Microsoft Edge, Mozilla Firefox, Google Chrome, and Safari.