The User Management module lets you create or register new users individually or through import. You can also edit user information, block or reactivate users, and delete them from the Infince Cloud.
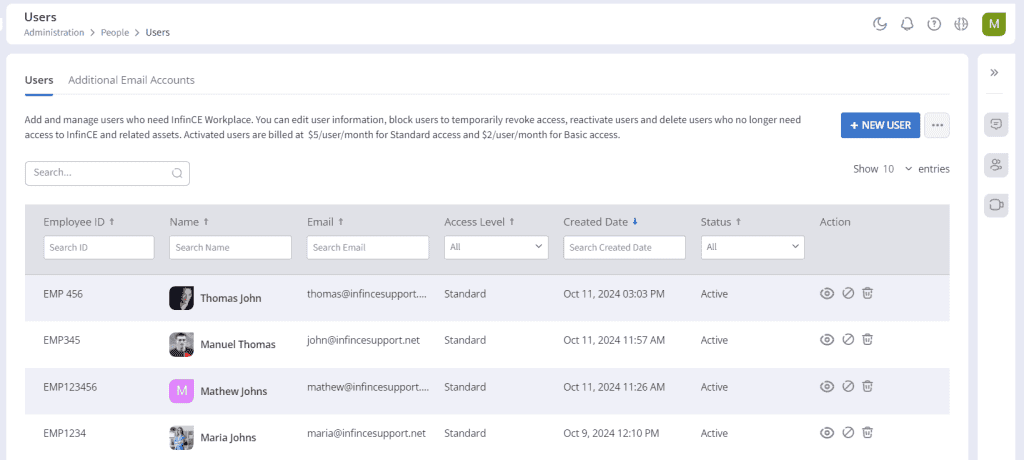
Go to Cloud Console and click on Administration > People > Users to open the Users page. This page displays a list of employees already added to the system. You can view details such as employee ID, name, email ID, assigned roles, access level, created date, status, and available actions. From here, you can view a user’s profile, block a user, or delete a user from Infince.

User Registration
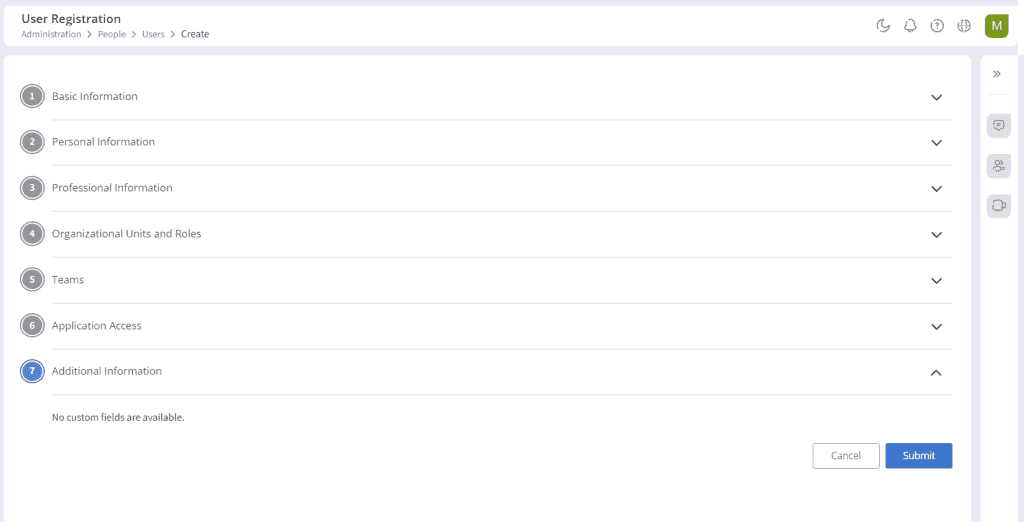
Click the New User button in the ‘Users’ tab to register a user in Infince. The User Registration form is divided into logical sections, and mandatory fields are marked with a red asterisk.
Basic Information
In the ‘Basic Information’ section, select the user access level, and enter the employee ID, title, first name, last name, email id and date of joining of the user. You can activate the user by setting a password or by sending an activation email to the user.
Note: For the basic access level, the roles with only basic permissions will be available to choose from, whereas, for the standard access level, roles created from the complete set of permissions are available. Typically employees will need standard access to enjoy all the features of Infince Workplace.

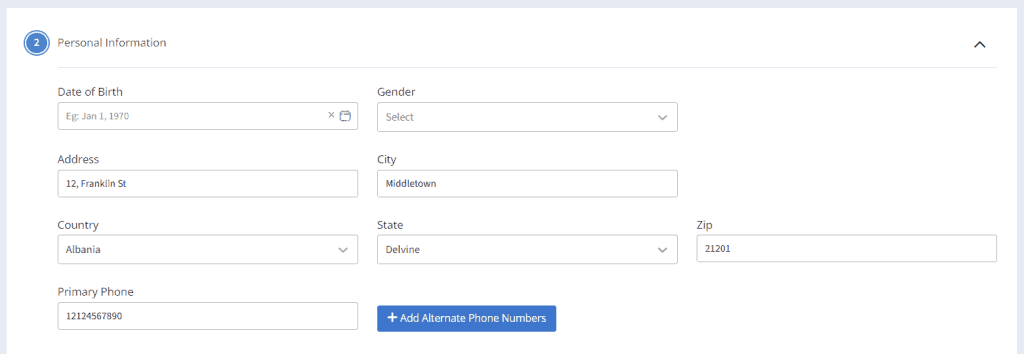
Personal Information
Enter the date of birth, gender, address, city, country, state, zip, and primary phone in the ‘Personal Information’ card.
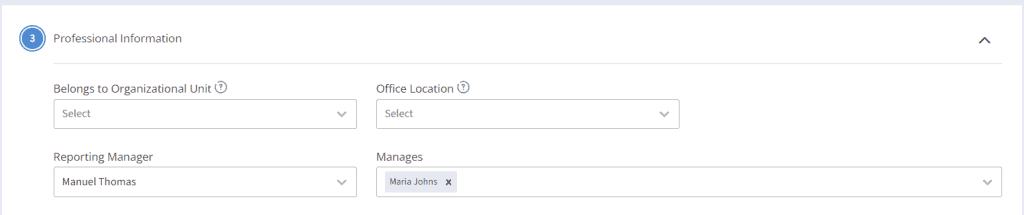
Professional Information
Enter the professional details of the user, such as the organizational unit he belongs to, reporting manager, office location, and employees who this user manages. When the ‘Belongs to Organizational Unit’ is selected, a system default role will also get assigned against the selected value. The “Organizational unit member” role will be assigned to the user for the’ Standard’ access level. For the ‘Basic’ access level, the “’Limited access member” role will be assigned to the user.
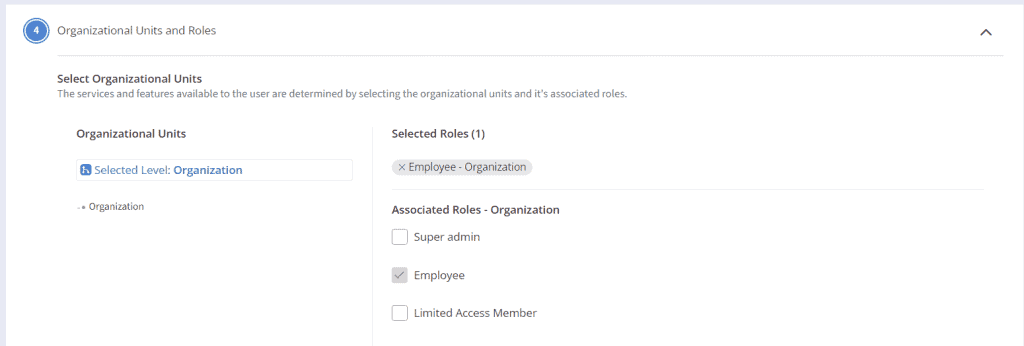
Organizational Units and Roles
Select the organizational units and associated roles from the ‘Organizational Units and Roles’ section based on the user access level chosen. This helps the user to access the features based on the selected roles.
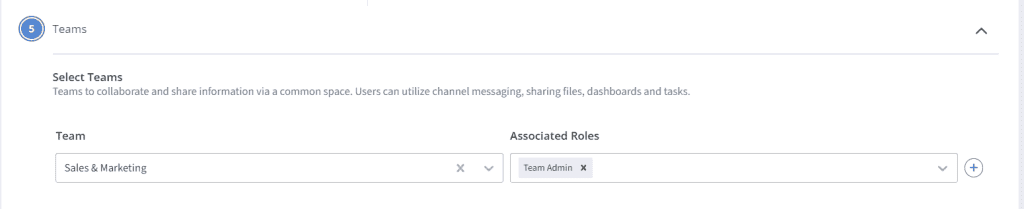
Teams
In the ‘Teams’ card, select the team and the associated roles.
Application Access
In the ‘Application Access’ card, provision the user to the applications they need access to, and assign the role required for that Application.

Additional Information
Custom individual fields that are defined for your Organization under Administration > People > Users > Manage Custom Fields (menu next to New User button) will be listed under the ’Additional information’ section and can be entered here. Click on the Submit button to save the changes made.
The users registered to Infince Workplace will be displayed in the ‘Users’ tab. You can view their user profile and block or delete the user. Refer to the User Access Control article for more details.
Viewing the user details
Click the ‘View’ icon or user name to redirect to the employee profile page. You can view/edit the basic details, personal information, usage details, applications used, professional information, organizational units and roles, and team information of the user.

The User Management module in Infince helps Administrators efficiently create, manage, and control user accounts, ensuring secure access and smooth collaboration across the workplace.